Win8.1也上市快一个月了,其中带来不少改进的界面和操作方法,但也给用户带来不少麻烦,之前常用的VPN设置功能老是提示连接出错,下面小编简单带大家设置下Windows 8.1平台下的VPN连接。
准备工作:
VPN账号,例如IP: 199.36.77.106;用户名: vpn123;密码: 239979
测试环境:
Win8.1 32位或者64位系统
操作步骤:
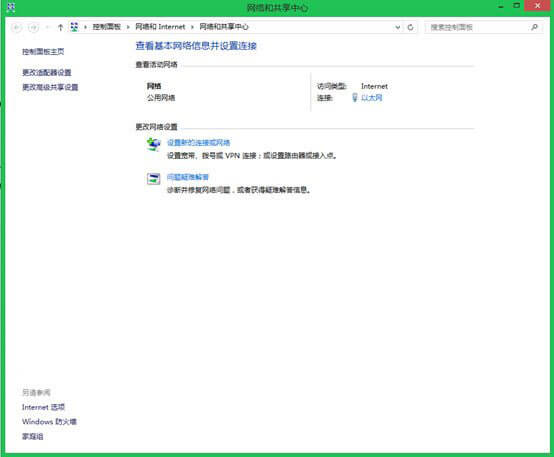
1、进入控制面板中的网络和Internet,选择网络和共享中心
2、设置新的连接或网络,选择连接到工作区
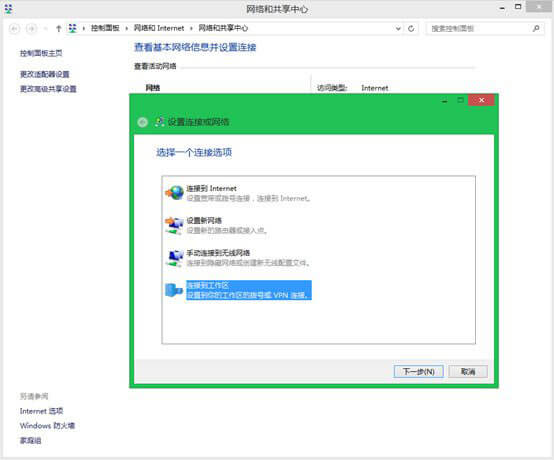
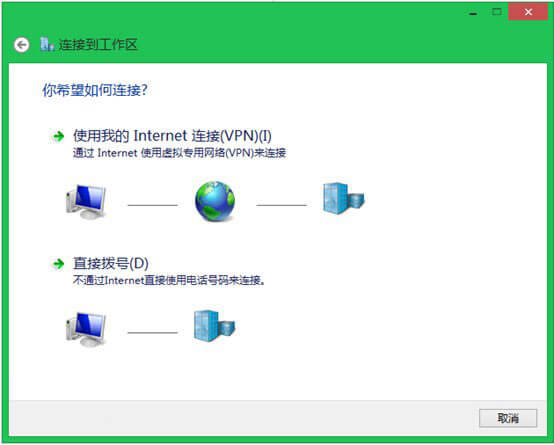
3、选择使用我的Internet连接(VPN)功能
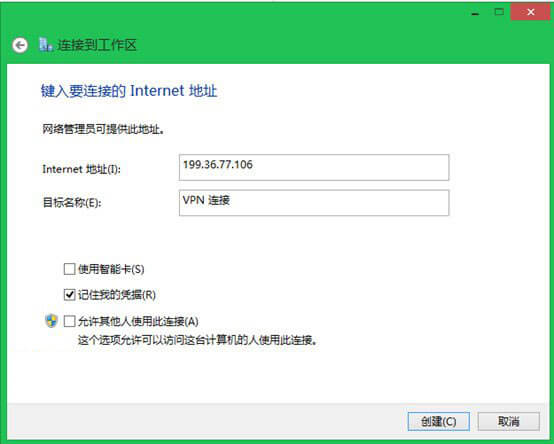
4、填入用户准备的VPN远程的IP地址,创建新的VPN连接
5、等待新的VPN创建成功
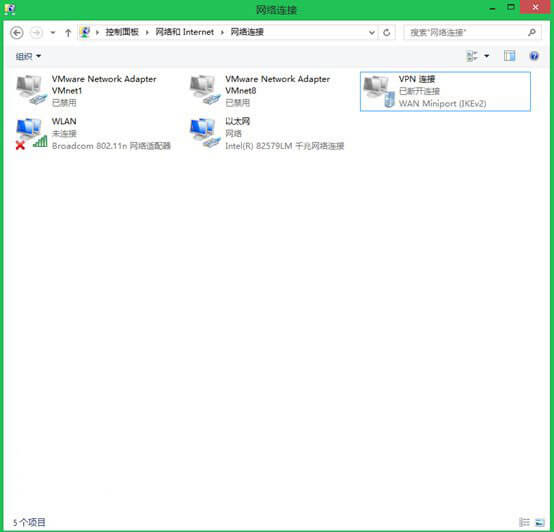
6、设置这个VPN连接,右击属性,选择安全页面。
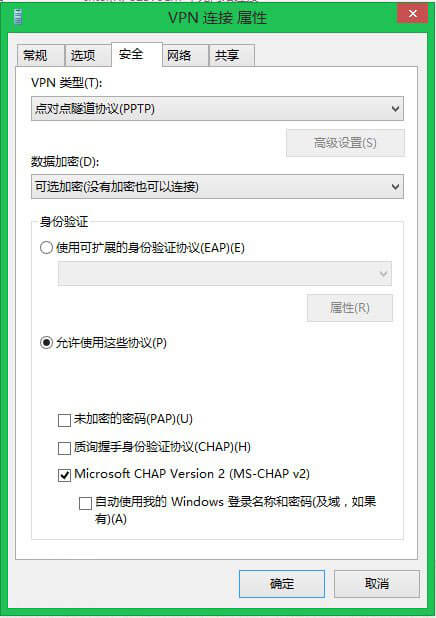
7、在VPN类型里面,选择”点对点隧道协议(PPTP)”,并选择“允许使用这些协议”功能,最后确定生效。
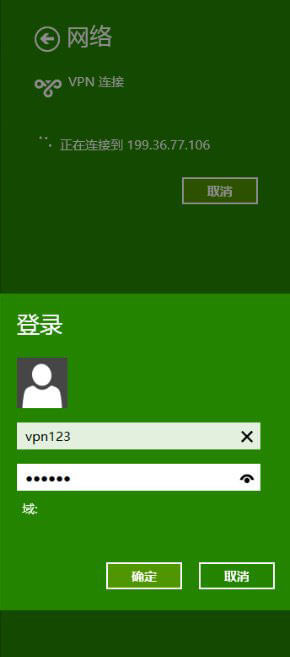
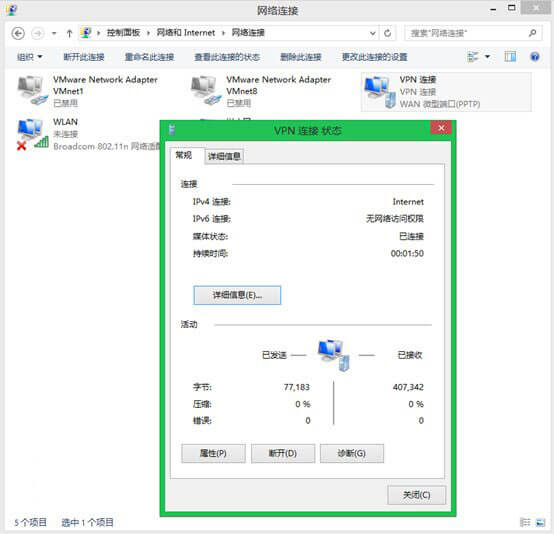
8、输入用户名和密码,终于连上了VPN。